Dog witch costume patterns
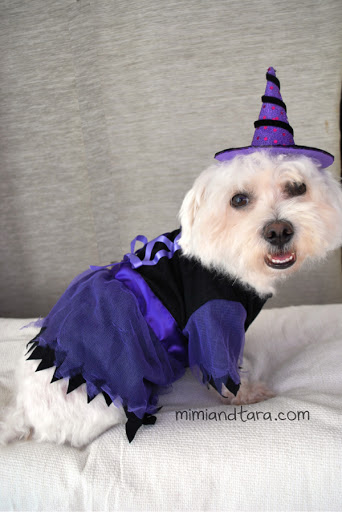
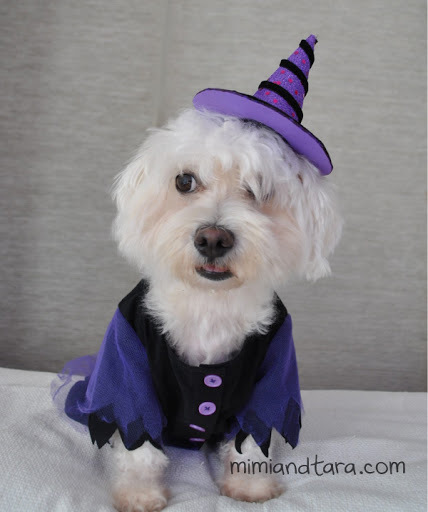
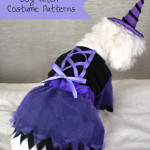
Hi guys! the scariest night is here, the night of Halloween!! Like every year Tara and I celebrate it with enthusiasm. This year we suggest the classic dog witch costume.
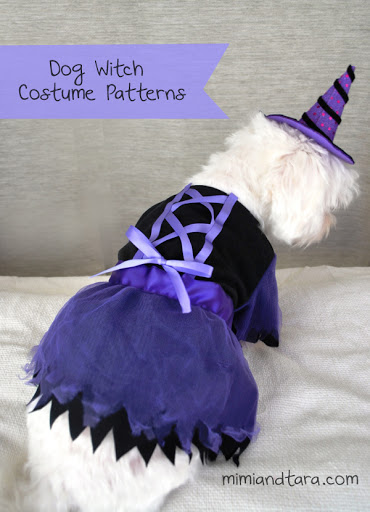
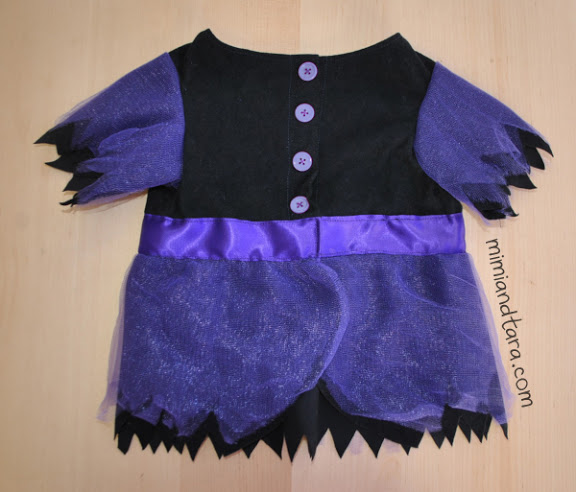
For this we used the christmas dress pattern but without the collar pattern and adding some small modifications and embellishments.
The patterns are 5:
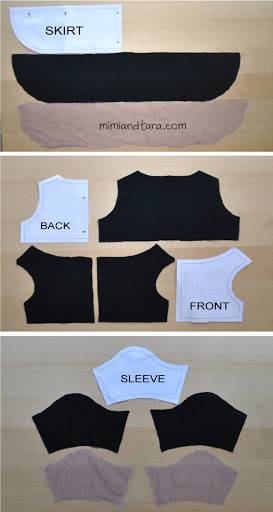
BACK: cut with the fabric folded in half.
SKIRT: cut with the fabric folded in half. Note that the skirt pattern is longer than the waist strip because it goes gathered.
FRONT:cut 2 one of each side of pattern piece so you have 2 opposite pieces.
SLEEVE:cut 2 one of each side of pattern piece so you have 2 opposite pieces, right sleeve and left sleeve.
WAIST STRIP:cut the fabric folded in half to make it twice as long.
Also I cut two sleeves and skirt in lilac chiffon.
Furthermore, both the sleeves and the skirt I finished making peaks with scissors.
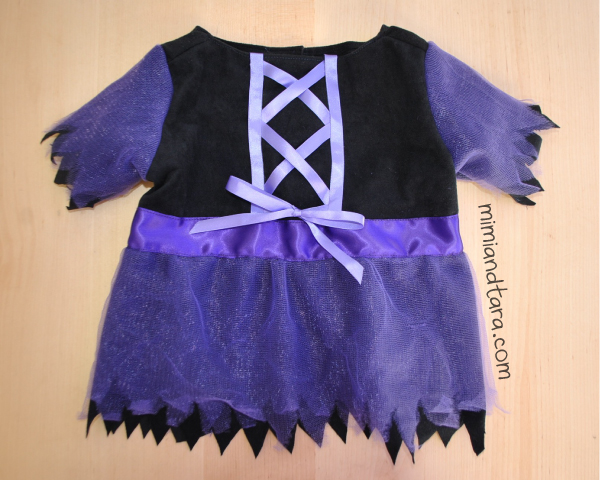
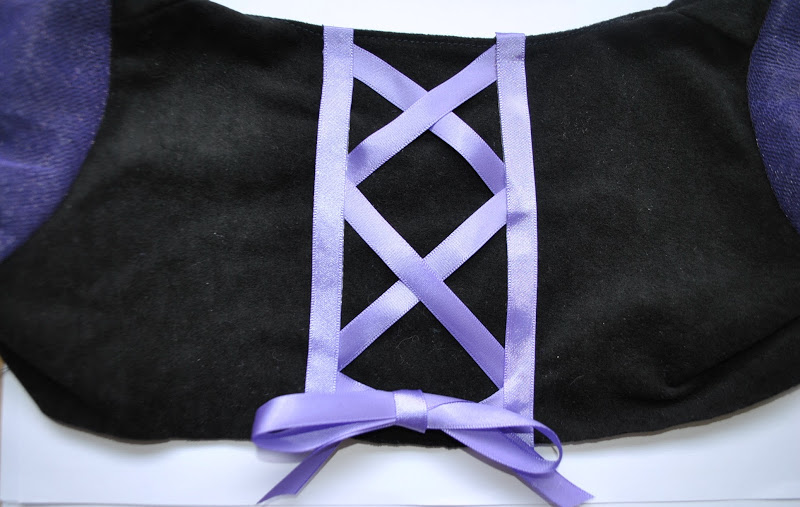
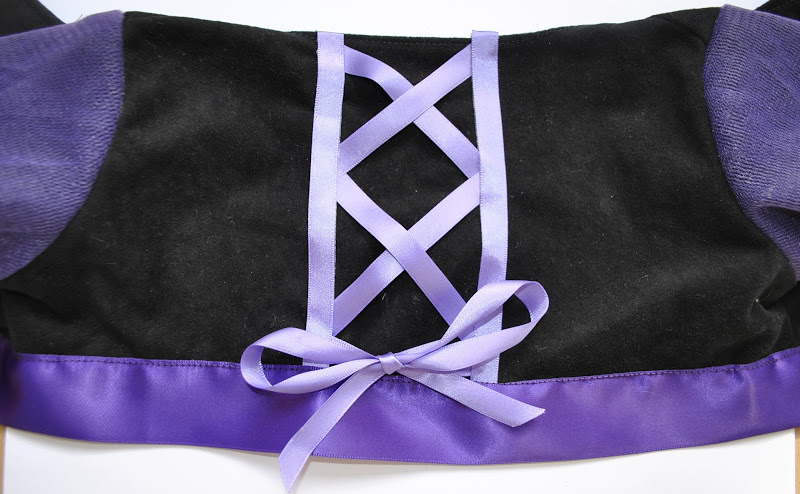
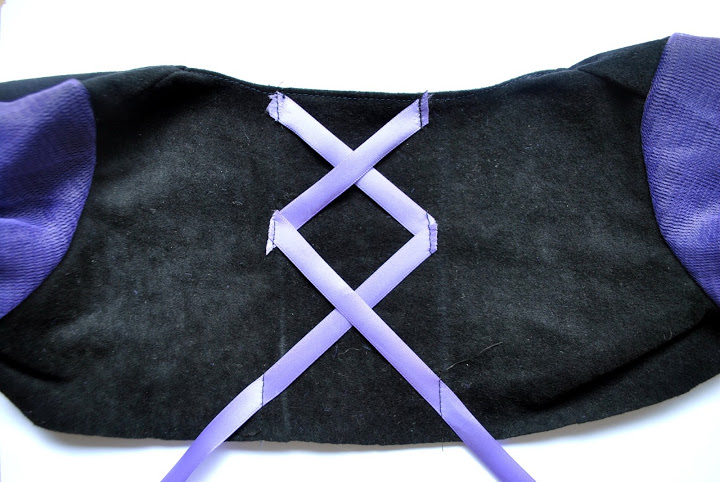
At back side we sew satin ribbon doing crosses like a bodice and finished with a bond.
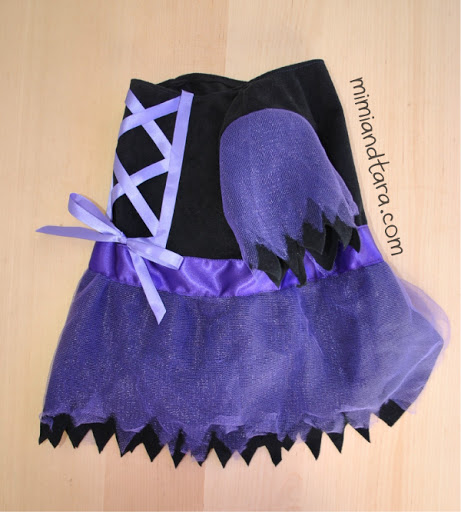
For the waist strip I used satin ribbon wider but you can use any fabric.
Now some pictures of Tara wearing her new witch costume:
HOW TO SEW THE WITCH DRESS STEP BY STEP:
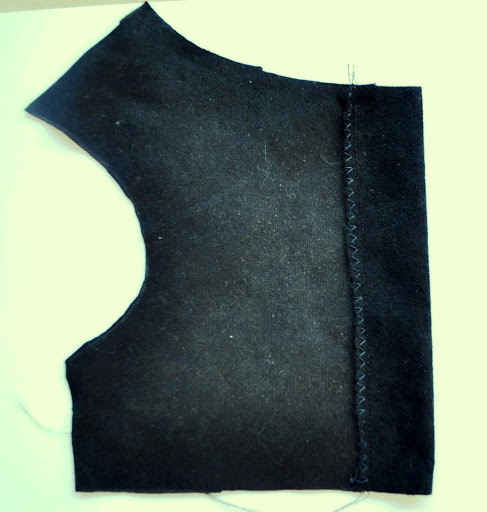
1. Sewing the placket: First sew zig zag stitch the raw edge of the front pieces, then fold the placket inwards (with wrong sides facing together) and sew it.
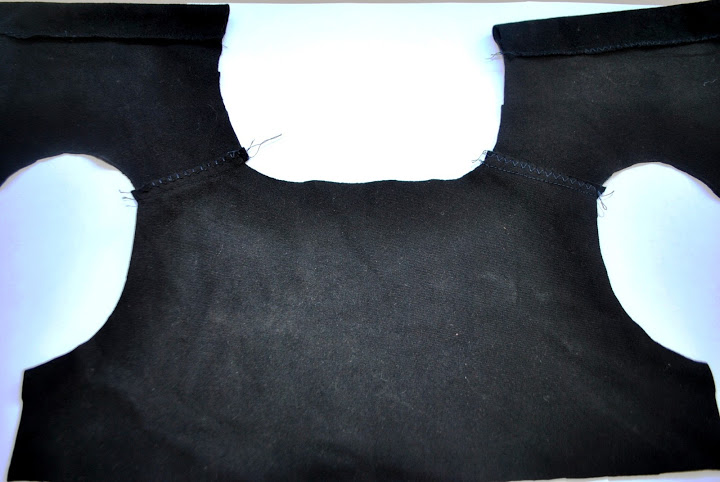
2. Sewing the shoulders. Sew the fronts and back of the dress together at the shoulders and zig zag.
3. Sew the collar seam.
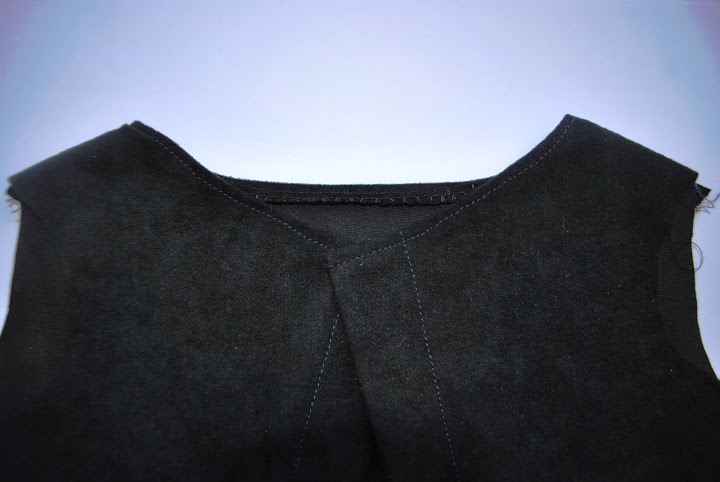
4. Sewing the sleeves: If you use two fabrics sew it together.
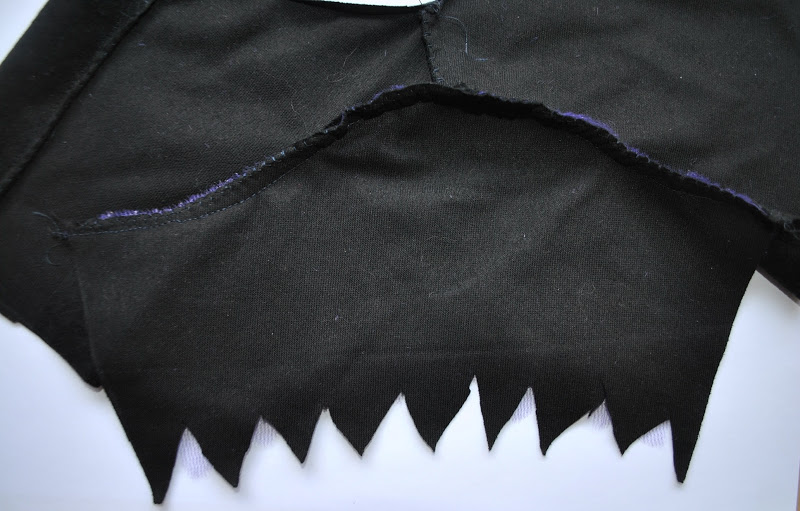
5. Pin the sleeves and side seams together and sew the sleeves starting from the cuff all the way down, around the armpit, and down the entire side of the dress and zig zag.
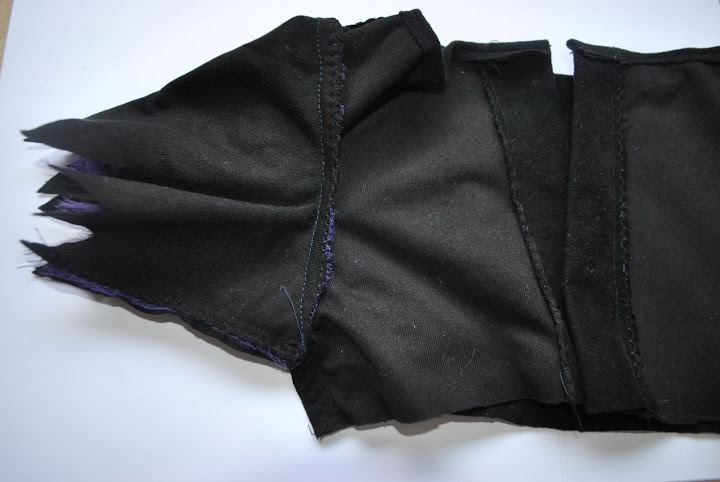
6. Sew the ribbon at the back like a bodice.
7. Sew the waist ribbon.
8. Sewing the skirt: Sew the waist strip to the gathered skirt and zig zag this seam. If you use two fabric like me, sew it together.
9. Make buttonholes and sew the buttons.
and ready!

HOW TO MAKE THE WITCH HAT STEP BY STEP:
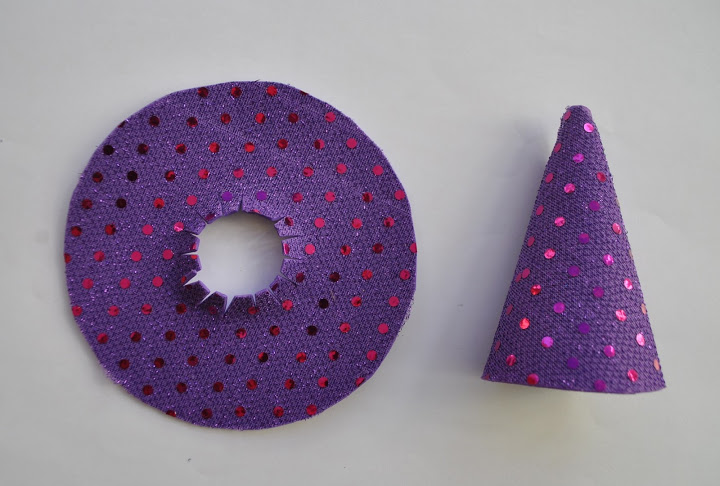
Print the hat template and cut out the size you prefer, the cone and the circle. Tara use S size. I recommend choosing a slightly smaller size because is more funny and comfortable for the dog, as it will weigh less and will not fall out. Place the template over the hat material and mark all around. I’ve used eva rubber but you can also use thick felt.
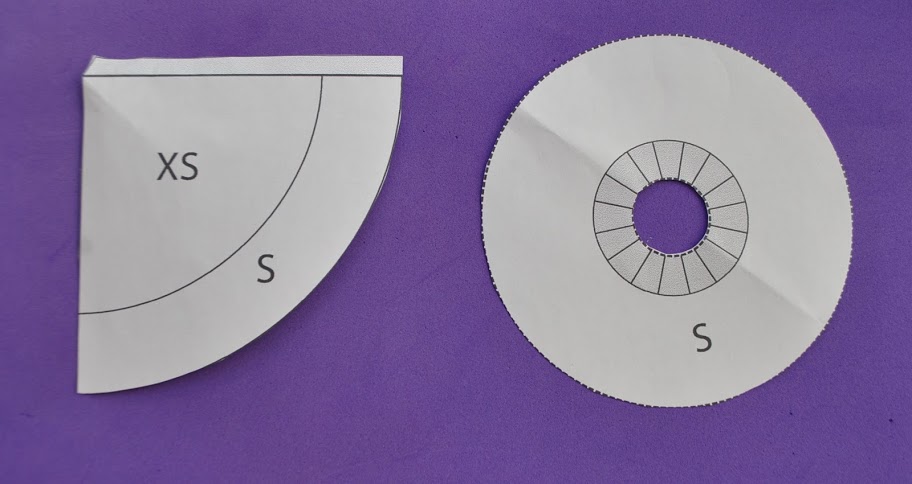
Cut out and paste with the flap inside. We have the cone!
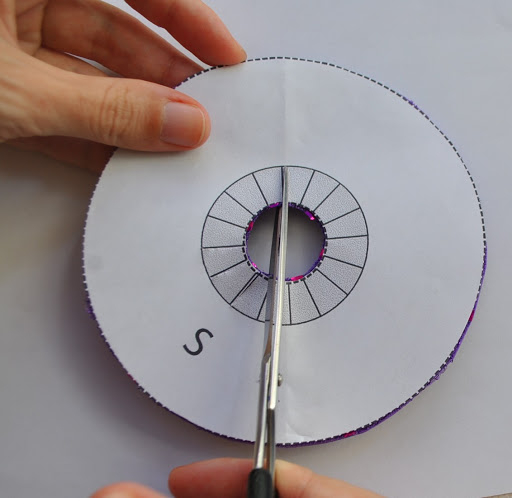
Now do the same with the circle that makes hat wing. Mark the template and cut out. Do not forget to also trim the lines are marked in the center of the circle.
Bend the tabs slightly to the center and put glue. Paste the tabs one on one with care inside the cone.
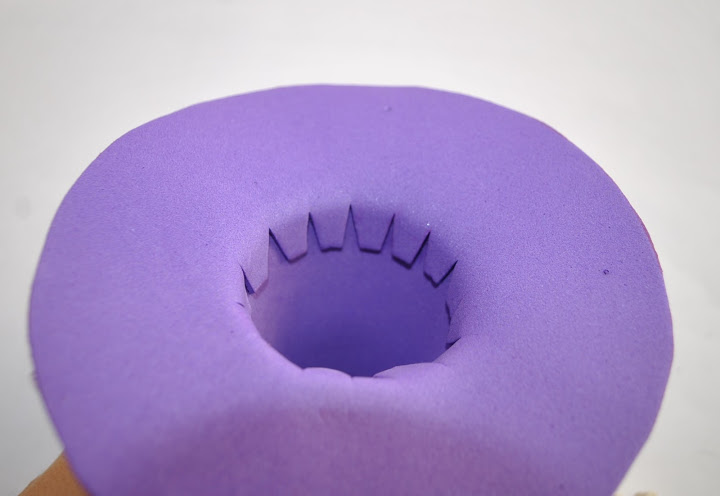
Let it dry and you have your hat ready!!! Now we just have to decorate it. I’ve placed a black ribbon in spiral on the cone and also on the wing’s edge.
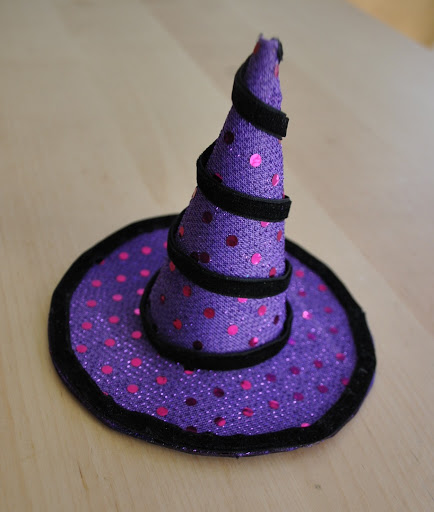
Do not forget to sew a rubber / elastic or ribbon to tie the hat and not drop. Sure that your pet will always feel comfortable.

DOWNLOAD THE PATTERNS in pdf below:
Please note that: the largest patterns are split into 2 or more pages,have to print and cut out and join them together to get the entire pattern.
SIZE XS
DOWNLOAD PDF HERE
SIZE S
DOWNLOAD PDF HERE
SIZE M
DOWNLOAD PDF HERE
SIZE L
DOWNLOAD PDF HERE
SIZE XL
DOWNLOAD PDF HERE
SIZE XXL
DOWNLOAD PDF HERE
HAT TEMPLATE
DOWNLOAD PDF HERE
Important: please read this before printing the patterns:
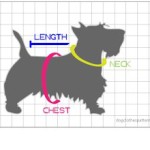
How to measure your dog for clothing
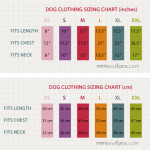
Dog clothing sizing chart
Tips for printing patterns
Happy Halloween!
Hope you enjoy it!

















2 Comments
Thank you Mimi and Tara for these awesome tutorials and modeling techniques!
Thank you so much for sharing your talents with all of us.
You are the BEST!