Dog Anxiety Vest Patterns
This is a very special pattern that I wanted to make a long time ago. I am happy to present you the dog anxiety vest. Maybe some of you already know this therapeutic garment since it is a super sales in Amazon.
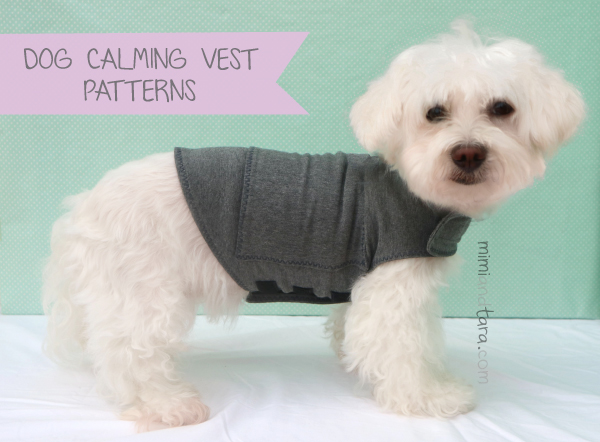
If you don’t feel like making one yourself, you can purchase the Thundershirt. And for those of you who do not know what is it, it is a type of shirt that reduces the anxiety of our pets in stress situations by applying maintained pressure on the animal’s body in a way that produces safety and relaxation.
Probably some of you have the same problem as me with my dog Tara because she has been suffering from separation anxiety for years and every time she has to stay at home alone she has a really bad time. This was the reason that led me to discover the anxiety vest. But the sad reality is that too many dogs suffer anxiety problems in different situations such as storm days, during fireworks, traveling or visiting the vet and many more.
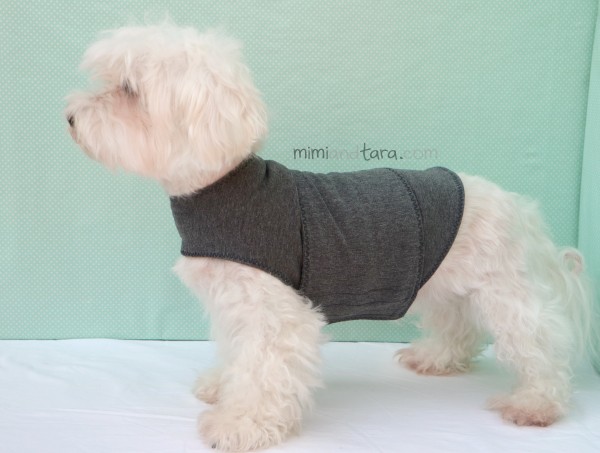
Dog anxiety vest technique is pretty similar to the concept of a mother holding her baby for reassurance. This comforting technique is called “maintained pressure,” and it’s been used to calm animals and humans alike by using compression to offer a sense of reassurance. Dog anxiety vest makes your dog feel like being in your arms all the time and makes him feel cozy and protected.
So I wanted to make my own version of anxiety vest based on the same scientific principles to produce an anti-anxiety effect. So you can make your own DIY Thundershirt to help relieve your dog’s anxiety, at home easily and quite economically.
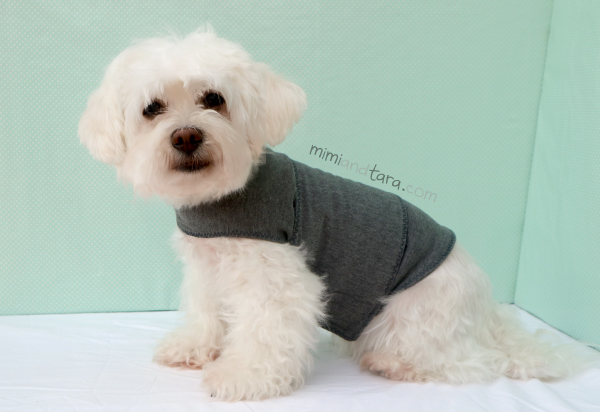
Tips and recommendations: use an old t-shirt fabric that smells like you is a smart idea!
Make sure the dog anxiety vest is not too tight nor too loose for your dog.
Velcro straps are the best way to fasten up your dog to the anxiety vest.
..And really works?
Some people are really skeptical about calming shirts for dogs but plenty of reviews (just check on Amazon) will clear your doubts. In my experience, yes it works! I have to say that I have noticed a major improvement although it doesn’t completely alleviate symptoms after some days of use, it is already a promising start!
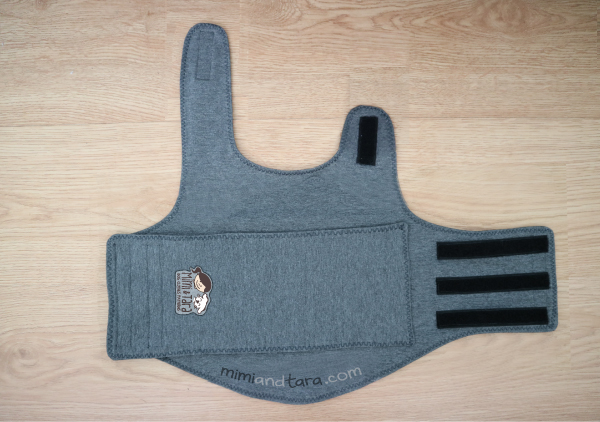
PRINTING THE PATTERNS:
Important! before printing, make sure you set “borderless” on print settings,
and do not check the box “print to scale”. This ensures patterns print at 100%
correct size.
Please note that the largest patterns are split into 2 or more pages, so you
have to print, cut out the parts and join them together (with glue or tape) to
get the entire pattern.
THE PATTERNS:
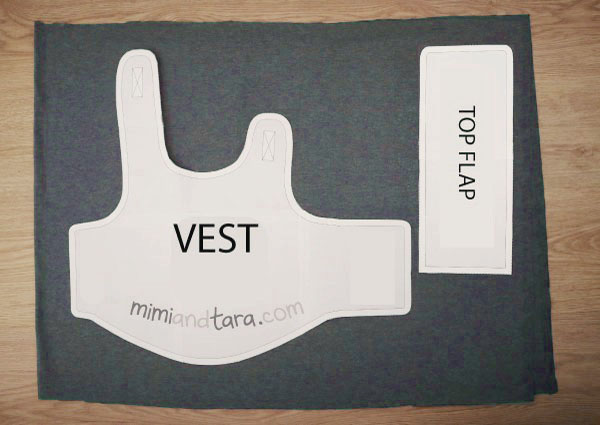
There are 2 patterns included:
1.the VEST pattern
2.the TOP FLAP pattern
PURCHASE THIS PREMIUM PATTERN BELOW:
HOW TO SEW THE DOG ANXIETY VEST STEP BY STEP:
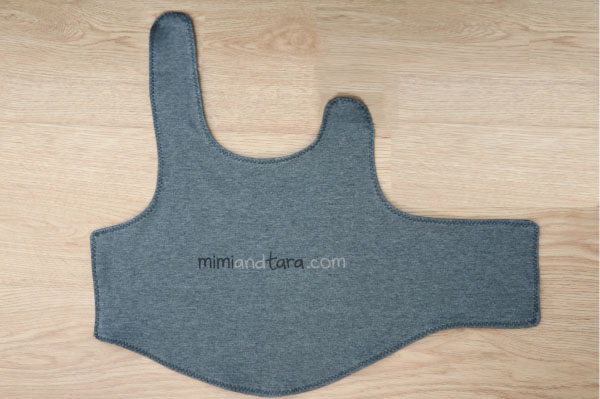
Place the two mirrored pieces of the VEST with right side facing together and sew all around except a few inches on the bottom so you can turn the VEST right side out.
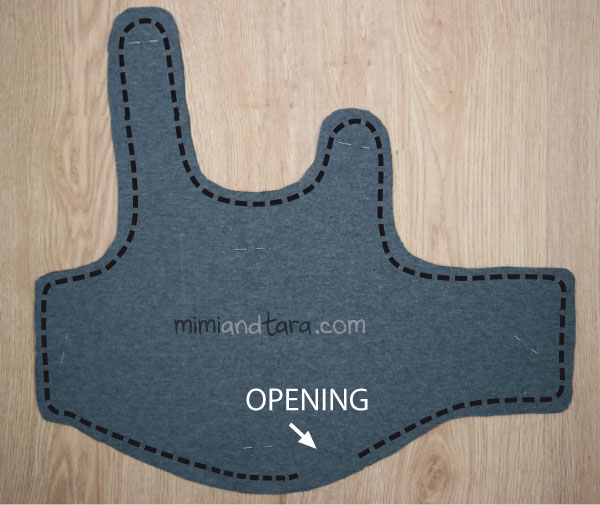
Turn right side out and press well, turning the opening under.
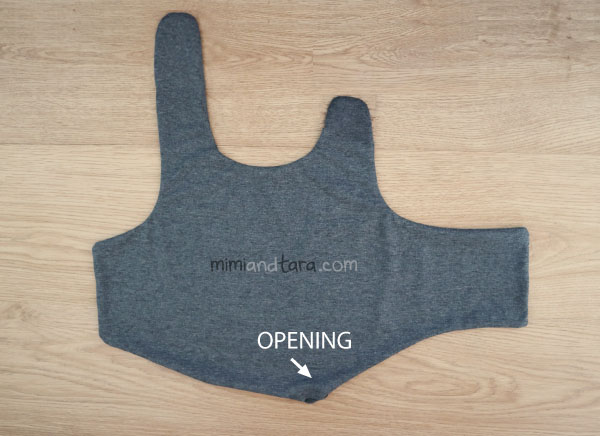
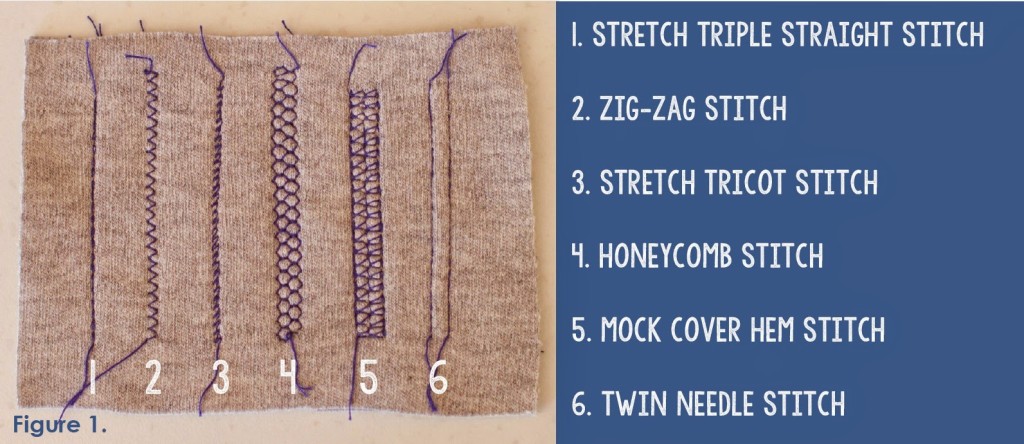
To close the gap, Zig zag stitch the opening and all the rest of the VEST edge.
Note: You can also finish the vest hem with any type of stitches suitable for stretch sewing like the triple straight stitch, the mock cover hem stitch or the twin needle stitch instead of the zig-zag stitch.
Place the two pieces of the TOP FLAP with right sides facing together and sew all around except a few inches on the side so you can turn the flap right side out.
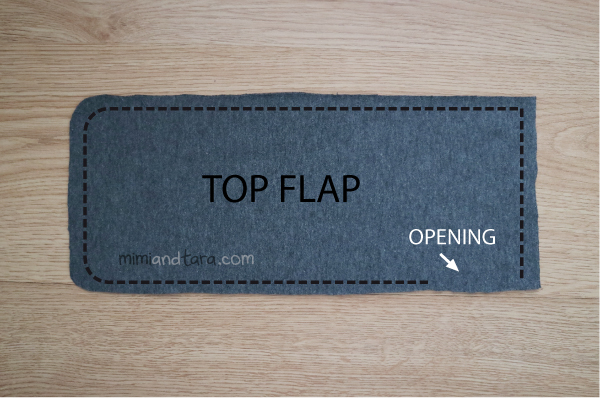
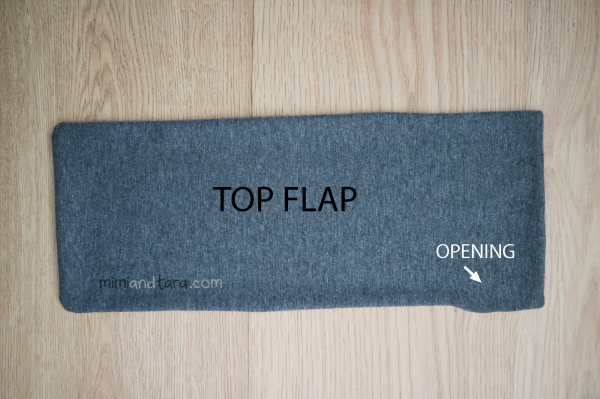
Turn right side out the flap and press well, turning the opening under.
To close the gap, Zig zag stitch the opening and all the rest of the FLAP edge except by the red line (see image below).
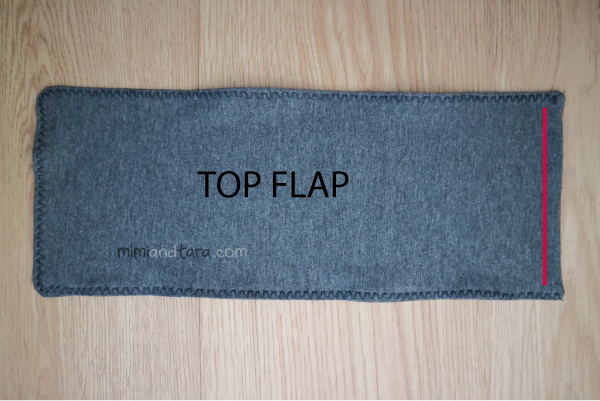
Place the top flap over the vest as you can see in the image below and sew as indicated in the image below to attach the flap to the vest.
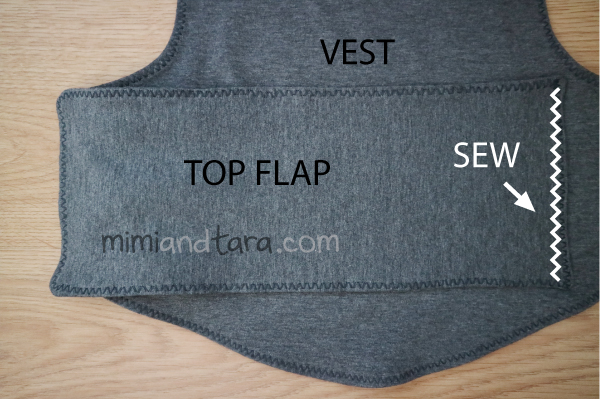
Sew the velcro where is indicated in the picture below and you are done!
*more detailed info in PDF tutorial
HOW TO PUT THE CALMING VEST ON YOUR DOG:
Step 1: Place the calming vest on your dog’s back and wrap the Short Flap under the torso.
Step 2: Wrap the Long Flap under the torso and secure with fasteners onto the short flap. Be sure not to put the vest too tightly.You should be able to easily slide your fingers between the calming vest and your dog’s torso.
Step 3: Wrap the Top Flap down onto the Long Flap and secure with fasteners.
Step 4: Wrap the Neck Straps around the front of the dog and secure with fasteners. You should be able to easily slide your fingers under the Neck Straps and should not feel restricting around your dog’s neck.

PURCHASE THIS PREMIUM PATTERN BELOW:
Important: please read this before printing the patterns:
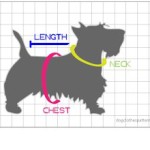
How to measure your dog for clothing
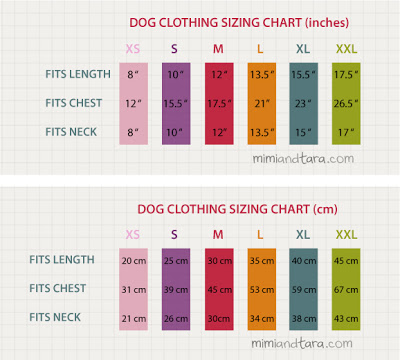
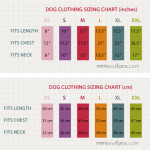
Dog clothing sizing chart
Tips for printing patterns



















Comments are closed.