Ewok Dog Costume Patterns
Hi guys! May the Force be with you! Halloween is coming so today I want to share with you how to make this cute ewok dog costume!
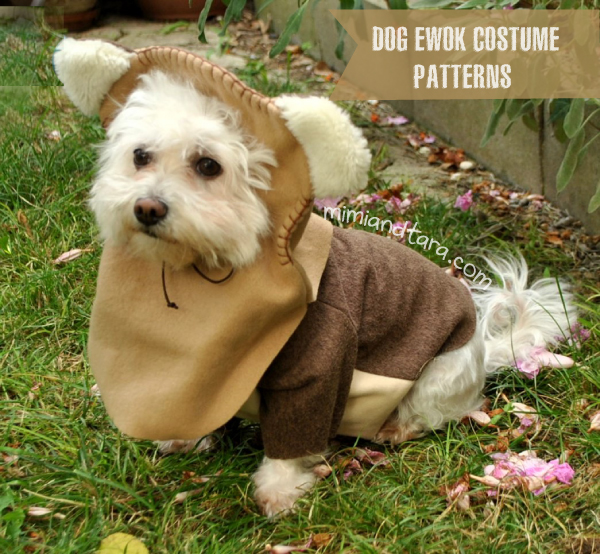
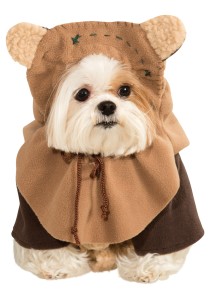
To make this design I have been inspired by this model:
The costume is composed of two parts the raglan sweater and the hood.
For the raglan sweater I have used dark brown fleece on back and sleeves and cream fleece on the chest.
For the hood I used light brown fleece. For the ears I have used white faux fur fabric for the front and dark brown fleece for the back.
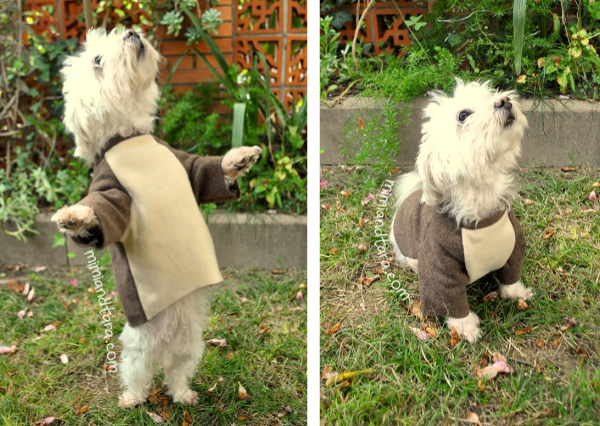
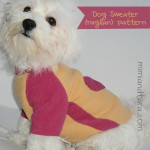
You can download the free patterns for the raglan sweater to make this costume here.
If you prefer to make a onesie costume you can use the pajamas patterns, you can buy them here
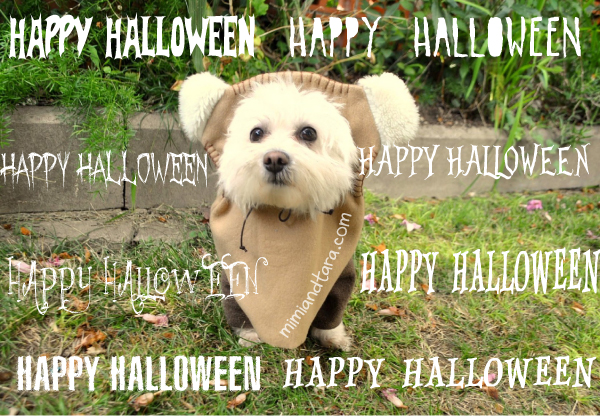
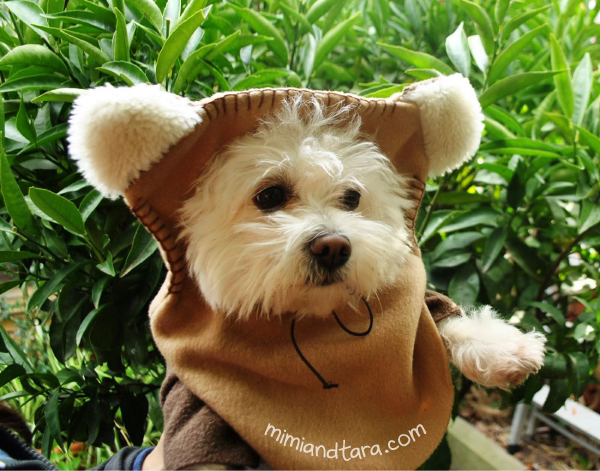
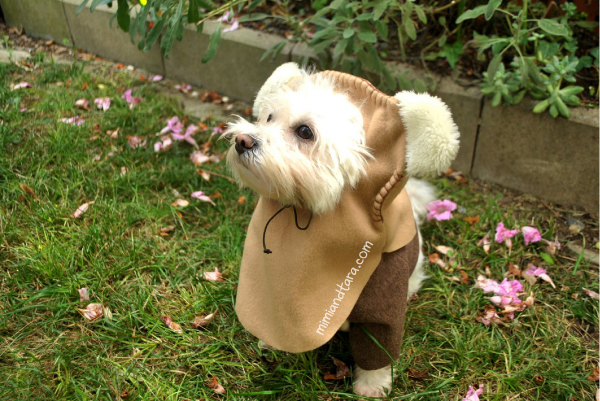
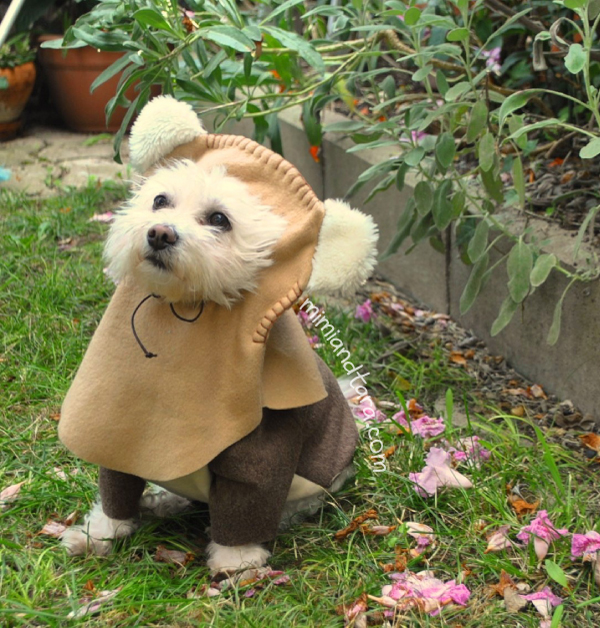
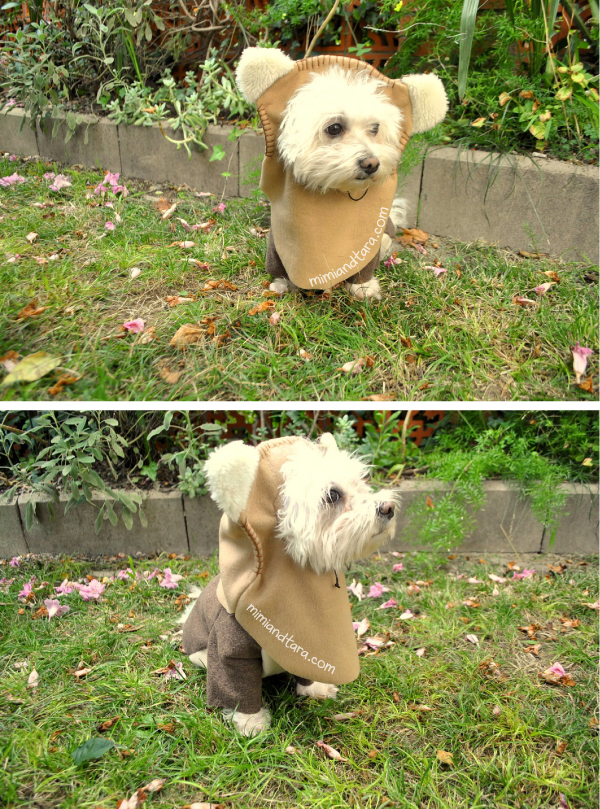
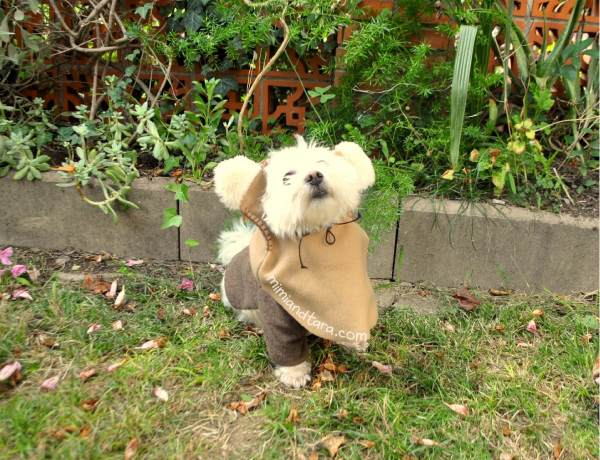
Here some pics of Tara wearing her ewok dog costume:
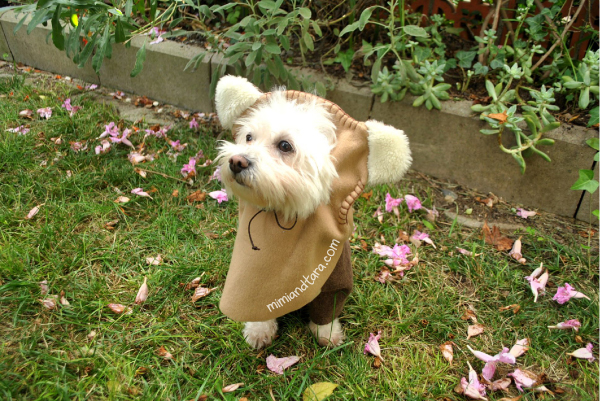
The canine model Tara wears M size:
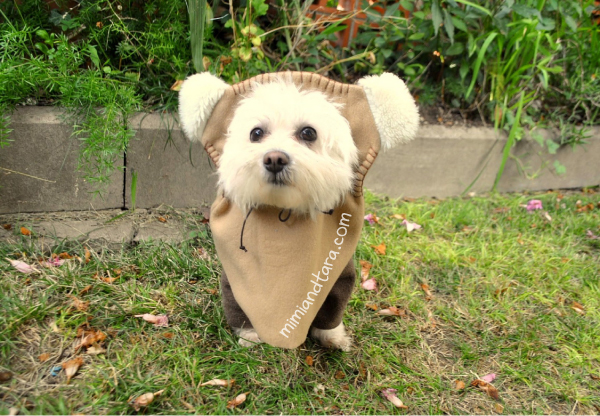
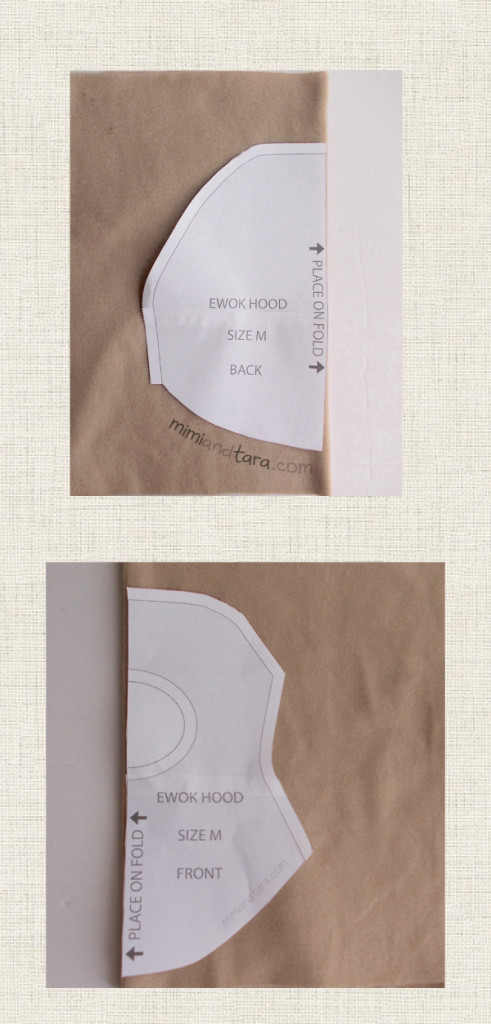
The patterns to make the hood are four:
Front hood: cut the pattern with the fabric folded in half as indicated on the pattern so when unfold will get the entire piece. Cut the face opening indicated on the pattern.
Back hood:cut the pattern with the fabric folded in half as indicated on the pattern so when unfold will get the entire piece.
Ears: cut 4 equal pieces two for the front ears and two for the back.
Circle: cut a circle to make a drawstring casing
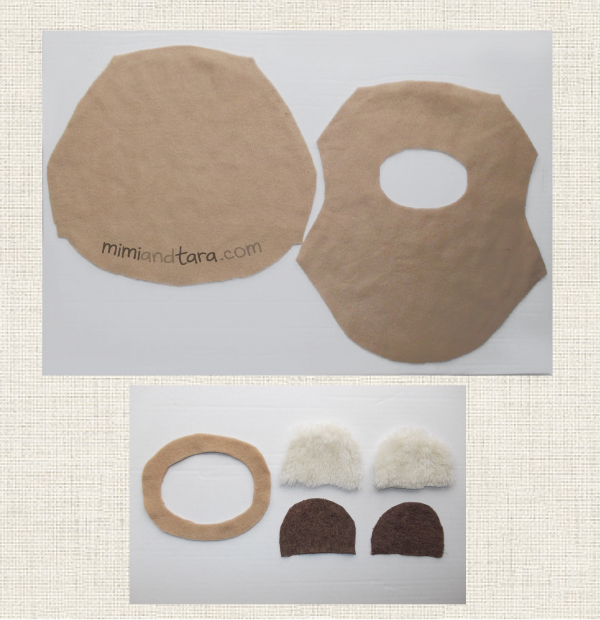
HOW TO SEW THE EWOK DOG COSTUME HOOD STEP BY STEP:
Once we get all the patterns cut out we can start sewing the hood.
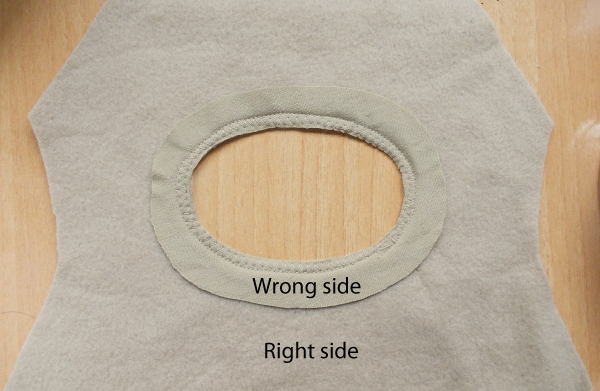
Attaching the Circle to Front piece: First sew the Circle piece to the Front piece with right sides facing together as shown on the image below.
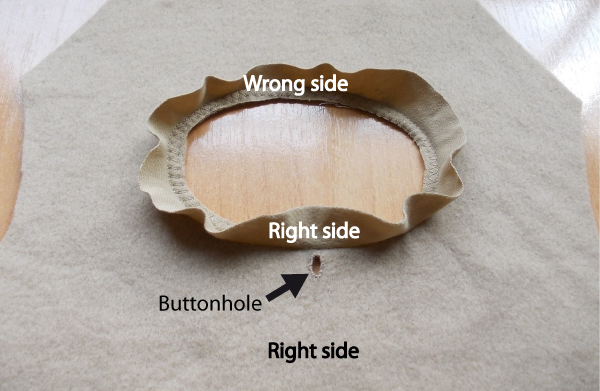
Making a drawstring casing: Now sew a buttonhole in the place as shown on the image below. If you prefer you can sew the buttonhole before to attach the circle to the front piece.
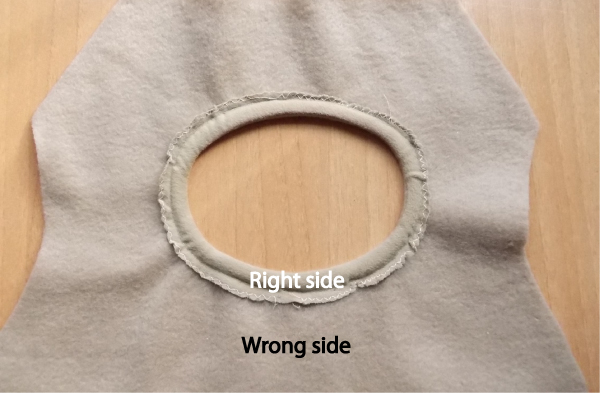
Sew zig zag stitch the raw edge of the Circle and fold the circle piece inside the opening hiding the seam and pin. It will look like this:
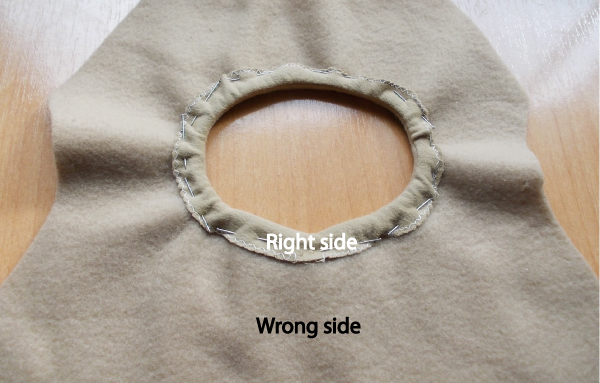
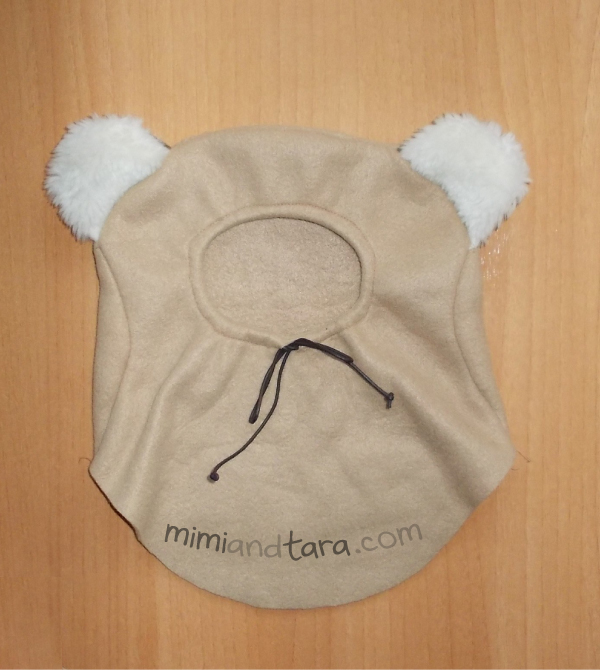
Sew all along the edge of the Circle piece making a casing or channel so you can pass a drawstring through it to adjust to your dog’s face.
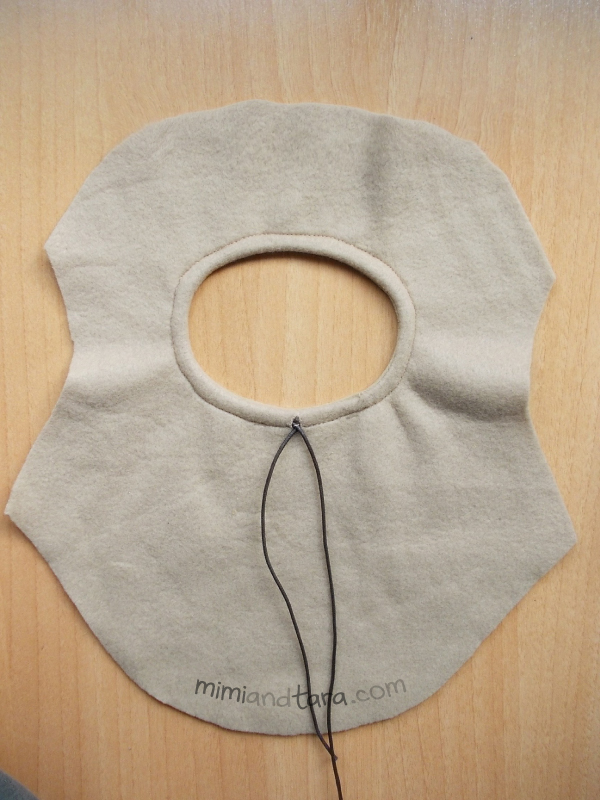
How to pass a drawstring through the casing:
Tie a knot in one end of the drawstring. Insert a safety pin into the knot and insert the safety pin into the buttonhole .Work the string through the channel, by a combination of using your fingers to squish the safety pin bulge through the channel, and by squishing the fabric down onto the pin, holding the pin, and then pulling the wrinkles taught with the other hand. By slowly working the pin around, after a few minutes until the pin comes out the other end by the buttonhole, and you can pull the drawstring through. Knot the two ends of the drawstring to prevent them from slipping through again.
Pull the cord and tie to adjust the hood opening to your dog’s face.
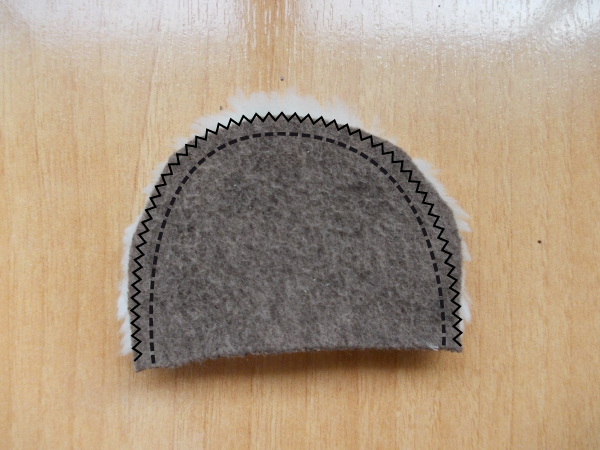
Sewing the ears:Place white ear piece with brown ear piece with right sides facing together and sew as shown on the image below:
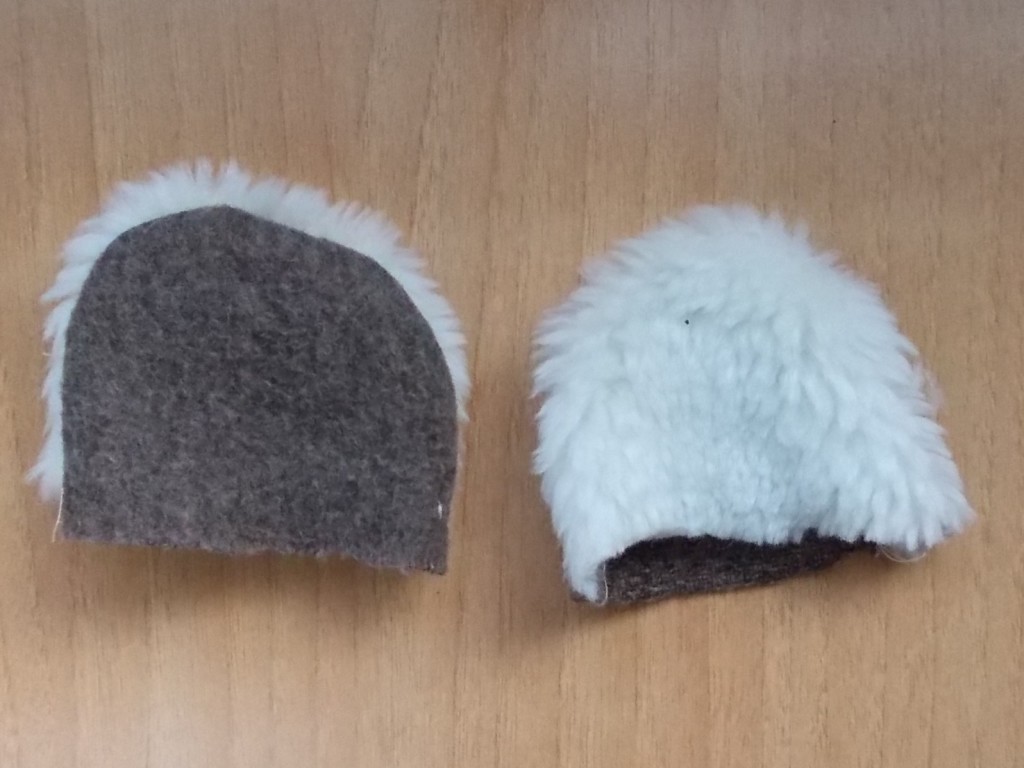
Turn right side out. It will look like this:
Attaching Front, Back and Ears: Place the Back piece with right side up. Place the Ears with white side up. Cover with Front piece with right side down. See image below:
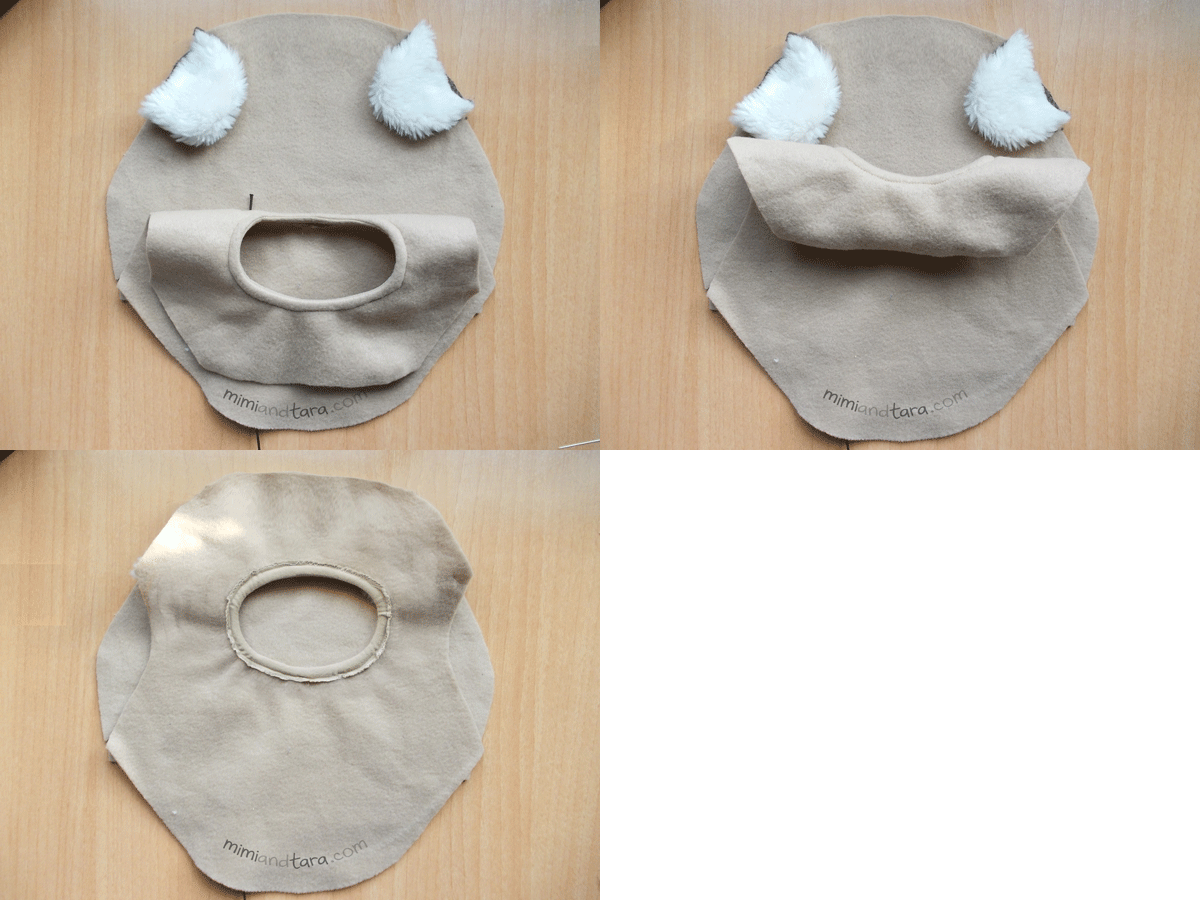
Pin to secure and sew a seam all along the hood hedge and finish this seam with zig zag stitch to prevent fraying as indicated on the image below:
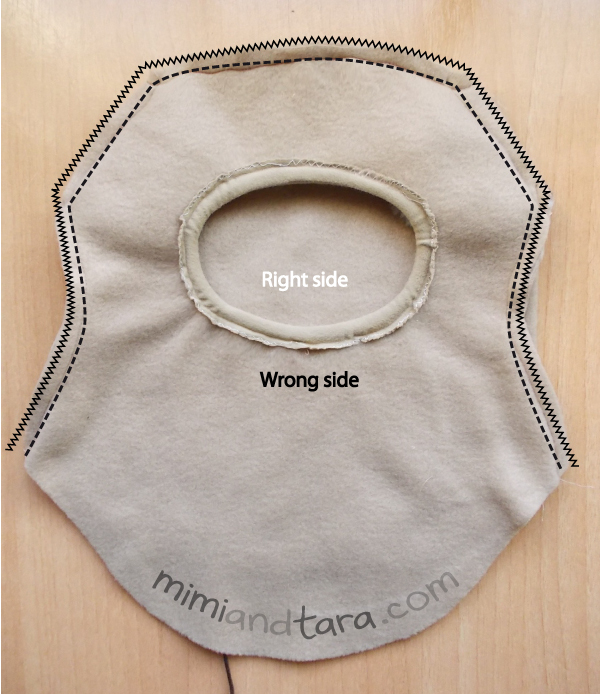
Turn right side out.
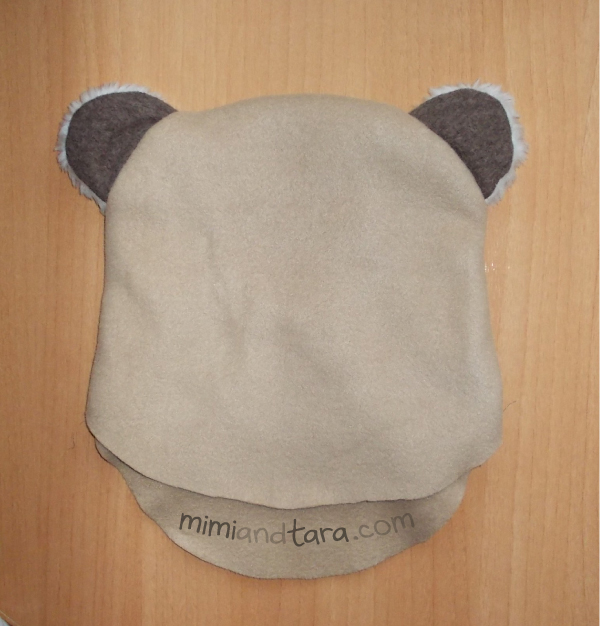
Press to flatten the garment.
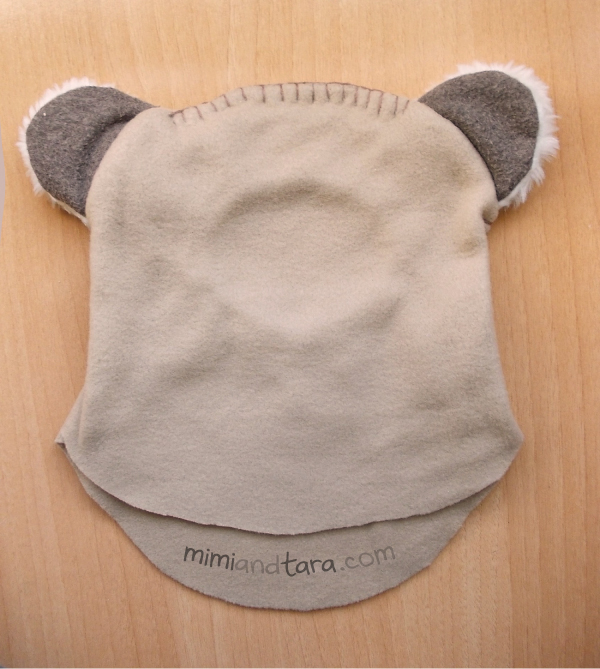
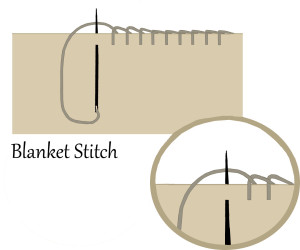
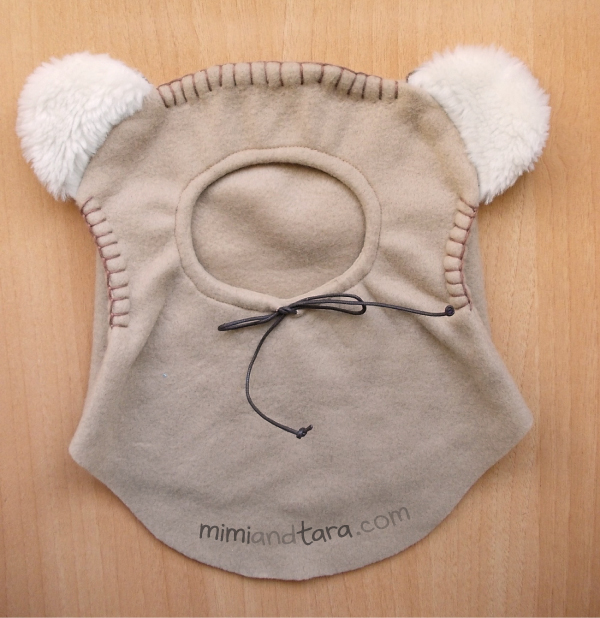
To finish the garment hand sew with blanket stitch all along the hood seam as shown below:
HOOD SIZING CHART:
SIZE XS:WIDE 14cm-5.5inch HEIGHT 16cm-6.3inch
SIZE S:WIDE 17cm-6.7 inch HEIGHT 21cm-8.25inch
SIZE M:WIDE 21cm-8.25inch HEIGHT 26cm-10.25inch
SIZE L:WIDE 27cm-10.6inch HEIGHT 32cm-12.7inch
SIZE XL:WIDE 30cm-11.8inch HEIGHT 40cm-15.75inch
SIZE XXL:WIDE 33cm-13inch HEIGHT 45cm-17.7inch
And you’re done!
DOWNLOAD THE PATTERNS in pdf below:
Please note that: the largest patterns are split into 2 or more pages,have to print and cut out and join them together to get the entire pattern.
SIZE XS
DOWNLOAD PDF HERE
SIZE S
DOWNLOAD PDF HERE
SIZE M
DOWNLOAD PDF HERE
SIZE L
DOWNLOAD PDF HERE
SIZE XL
DOWNLOAD PDF HERE
SIZE XXL
DOWNLOAD PDF HERE
Important: please read this before printing the patterns:
How to measure your dog for clothing
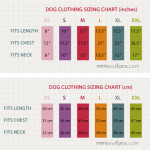
Dog clothing sizing chart
Tips for printing patterns







Comments are closed.