Dog Tuxedo Jacket Patterns
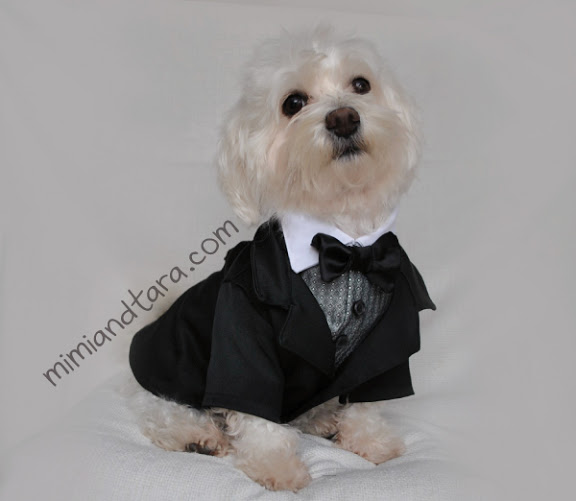
As we promised, the patterns to make a dog tuxedo jacket are ready!! This is the second part that combined with the vest we made in the previous post, you can get a complete tuxedo suit.
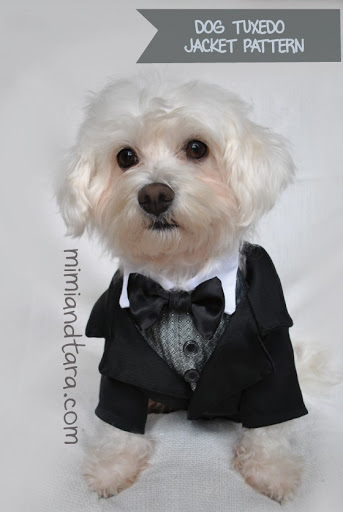
Remember you can download the tuxedo vest pattern here.
This jacket with the tuxedo vest is perfect for events that require etiquette as weddings or galas.
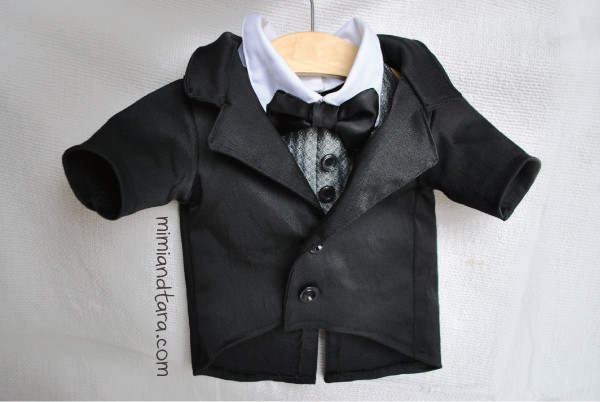
And for those who are looking for something more complete you can add the pants. You can download the pants patterns here.
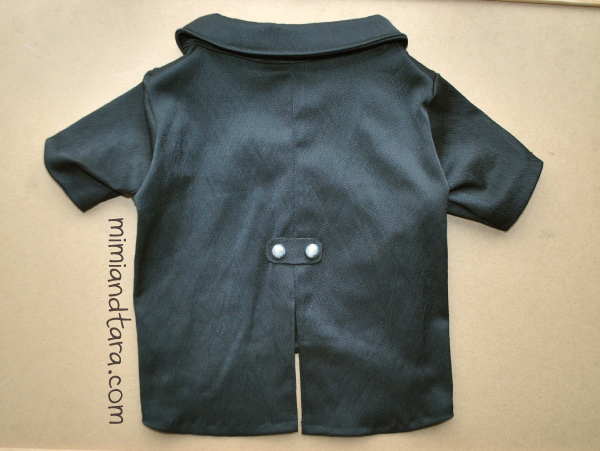
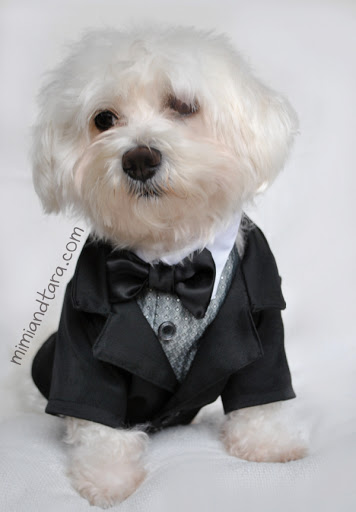
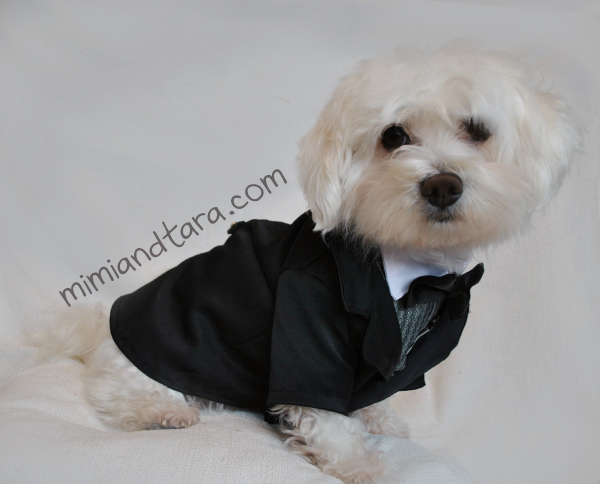
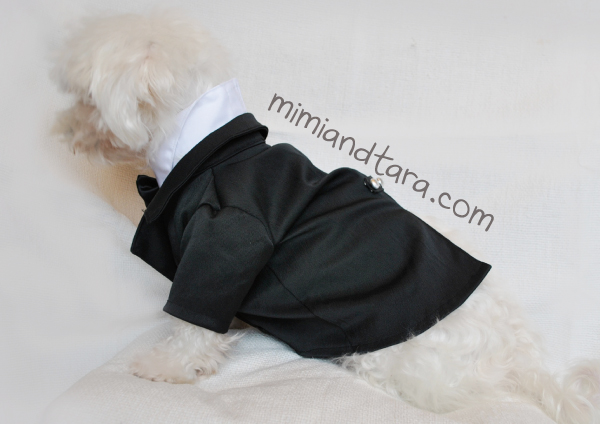
Below some pictures of Tara wearing her tuxedo jacket (with the vest).
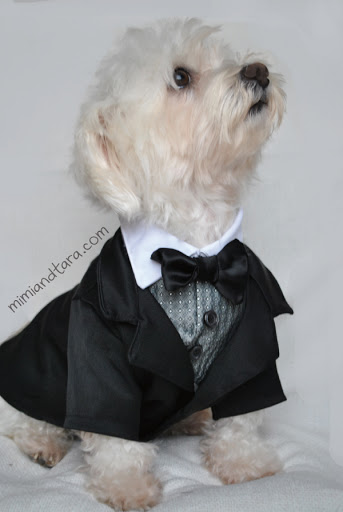
Tara wears M size.
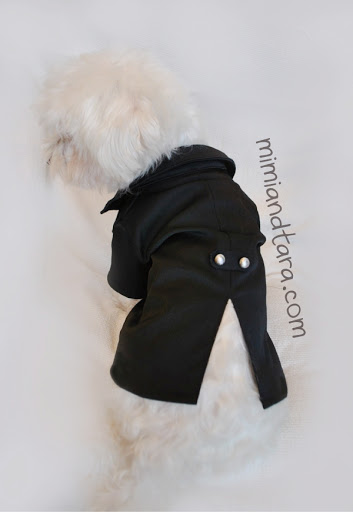
Optionally you can add a back loop with two little buttons as decoration on the back, just above the opening. You can also add breast pockets or a small white flower on the lapel.
FABRICS:
To make this jacket you can use different types of fabrics such as cloth, cotton, wool, satin, etc … preferably use a lightly stiff fabric, then don’t need to use interfacing for the collar.
Clarification: this jacket design is made without lining to make it easier to do.
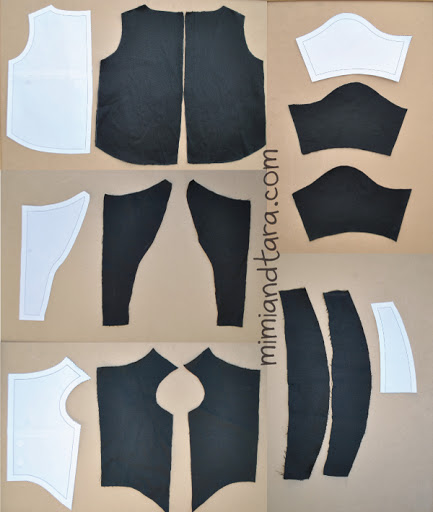
Patterns are 5:
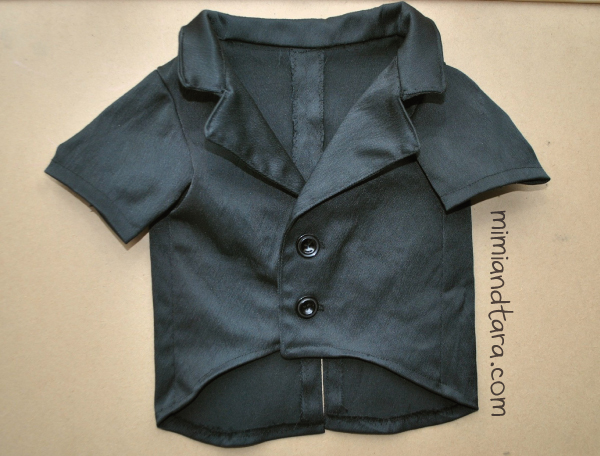
CHEST: cut 2 opposites
BACK: cut 2 opposites
COLLAR: cut with the fabric folded in half to make it twice as long. Cut out two equal pieces of fabric.
LAPEL: cut two opposites
SLEEVE: cut two opposites
PURCHASE THIS PREMIUM PATTERN BELOW:
HOW TO SEW TUXEDO JACKET STEP BY STEP:
BACK: Place rights sides facing together and sew the center seam till where the opening begins.
Iron the seam open and finish with zig zag stitch to prevent fraying.
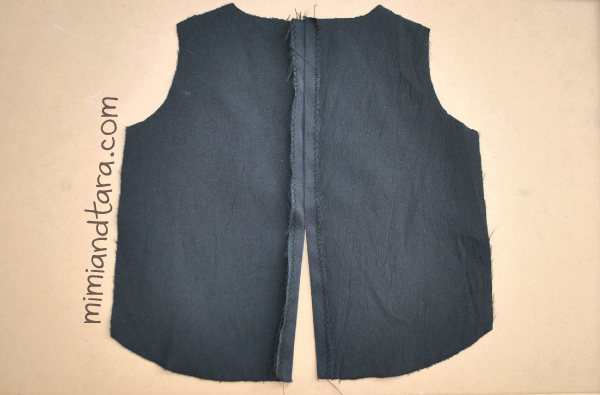
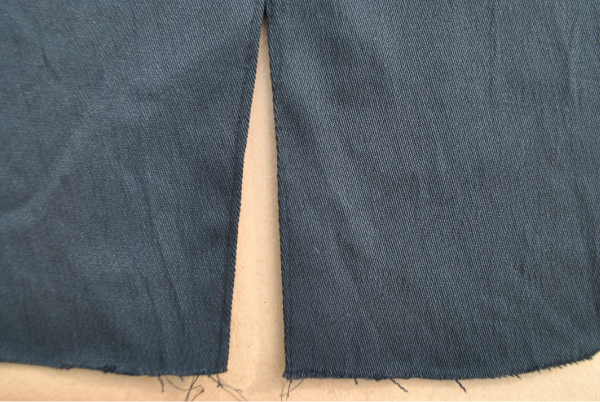
Sew edge stitch along the edge of the back opening.
Place the front piece and the lapel piece with right side facing together and sew all the seam except the end of the line that goes attached to the collar.
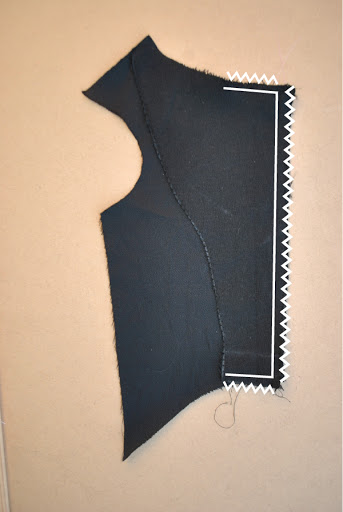
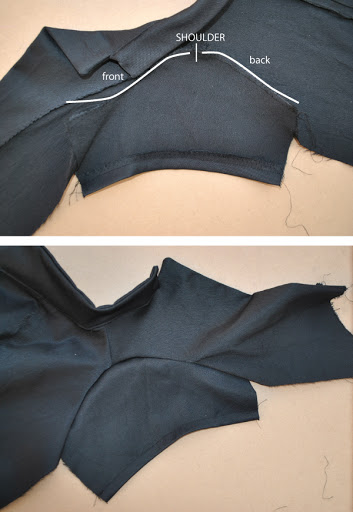
Cut corners and turn right side out, iron. Sew the shoulder seam and zig zag stitch.
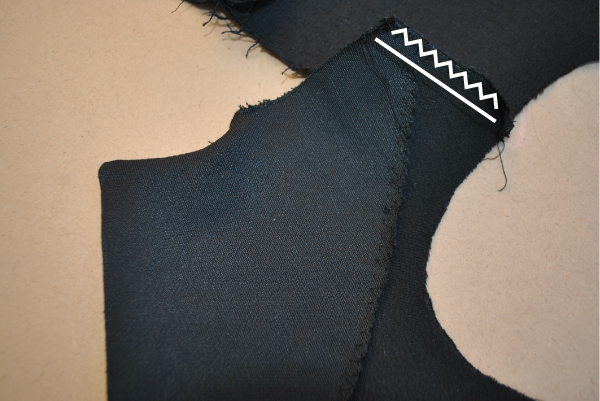
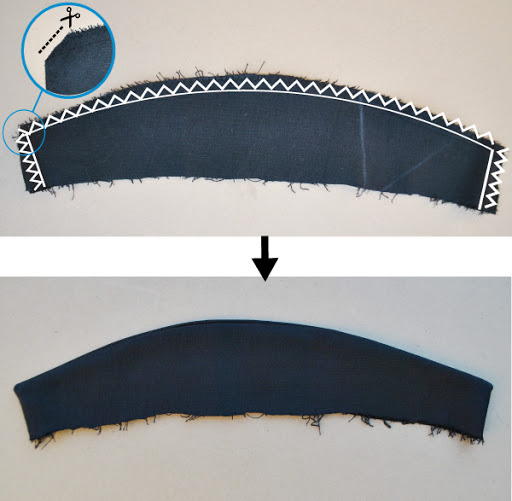
Place collar pieces with right sides facing together and sew all around, except the base line. Cut corners and turn right side out, iron.
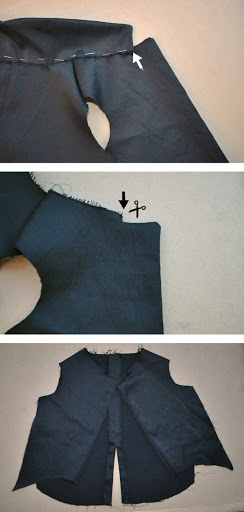
Pin the collar attached to the bodice starting from the back seam. Make a small cut where the collar ends on the front pieces as you can see in the picture below.
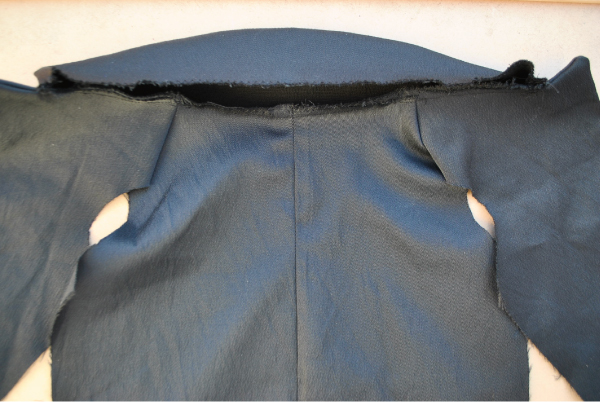
Sew one layer of the collar to the bodice. Let the other layer loose. See picture below.
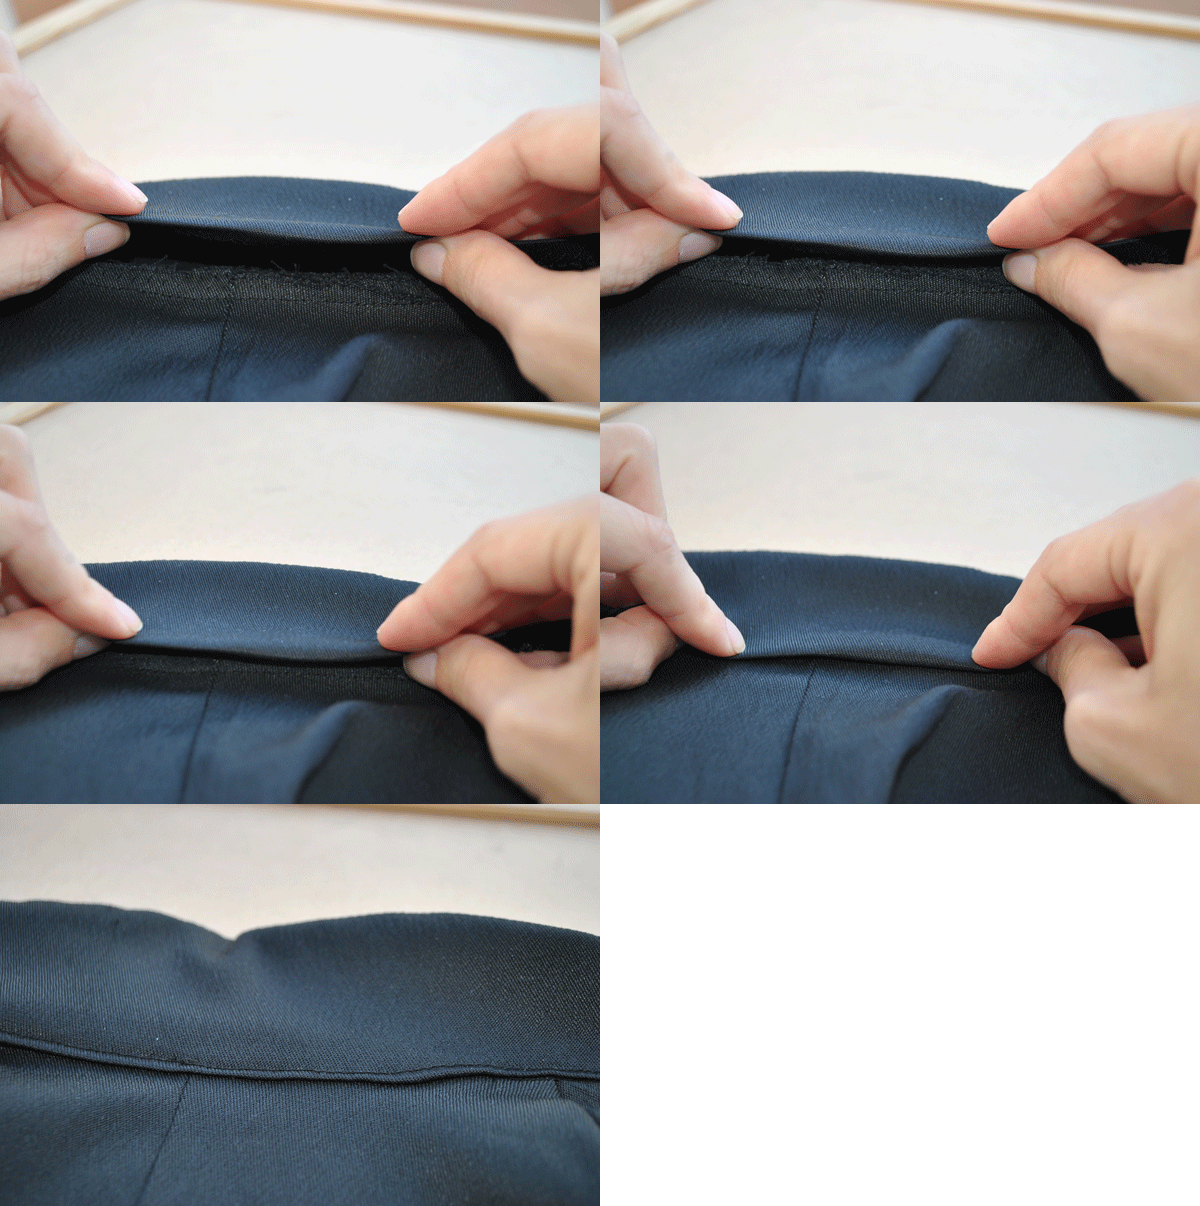
Now sew the other layer of the collar. Fold the seam allowance inward hiding the previous seam and finally sew over stitch as you can see in the animated image below.
Sew edgestitch all along the collar and lapel for a perfect finish.
Sewing the sleeves. Make a hem of the sleeve.
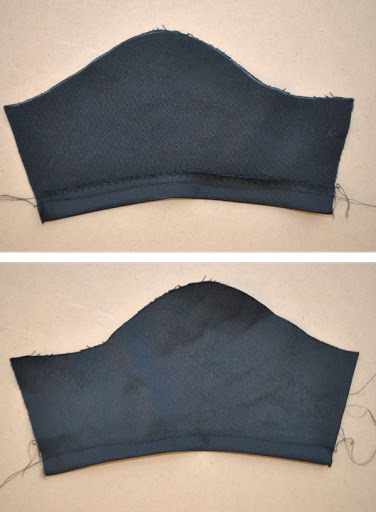
First pin the sleeves to the bodice with right sides of the fabric facing together, sew the sleeve all along the armhole curve and zig zag this seam.
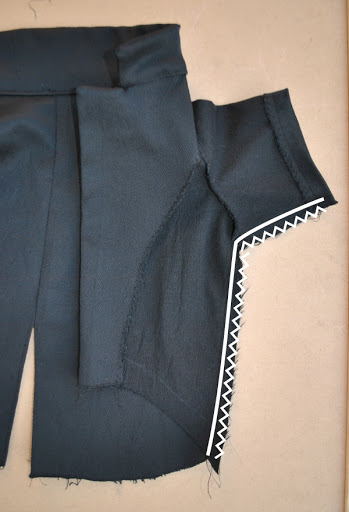
Pin the sleeves and side seams together and sew the sleeves starting from the cuff all the way down, around the armpit, and down the entire side of the jacket and zig zag.
Sew the bottom hem of the jacket.
Sew buttons and buttonholes
Sew back loop with two little buttons and ready !!
PURCHASE THIS PREMIUM PATTERN BELOW:
Please note that the largest patterns are split into 2 or more pages,so you have to print and cut out and join them together (with glue or tape) to get the entire pattern.
Important: please read this before printing the patterns:
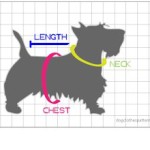
How to measure your dog for clothing
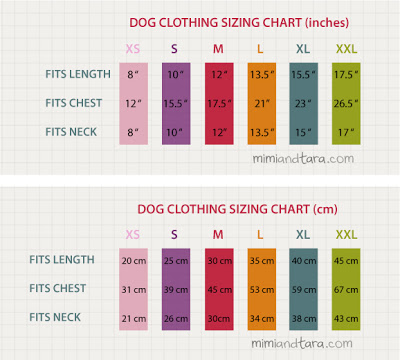
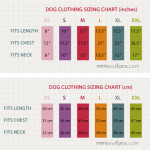
Dog clothing sizing chart
Tips for printing patterns



















6 Comments
How do I know which size will work best for my dog?
is so cuteeeeee
I do male clothes for my cat * – *
and dresses for my dog.
I love your blog and thank you for providing the mold and teach how to do.
Sorry for the wrong English, do not know English law.
Awesome blog!!!����
I made this (with some minor alterations, I added a patch of coloured fabric in stead of leaving the gap on the back open, and I repeated that same coloured fabric in the decorative 'belt' on the back and also on the cuffs, and the underside of the collar). It is pretty much the cutest coat I have ever made. It was quick, between 2 and 3 hours to do. Thank you for the pattern!
soo cutteee puppy i love u so much
ebay Coupon
Do you have a size chart??